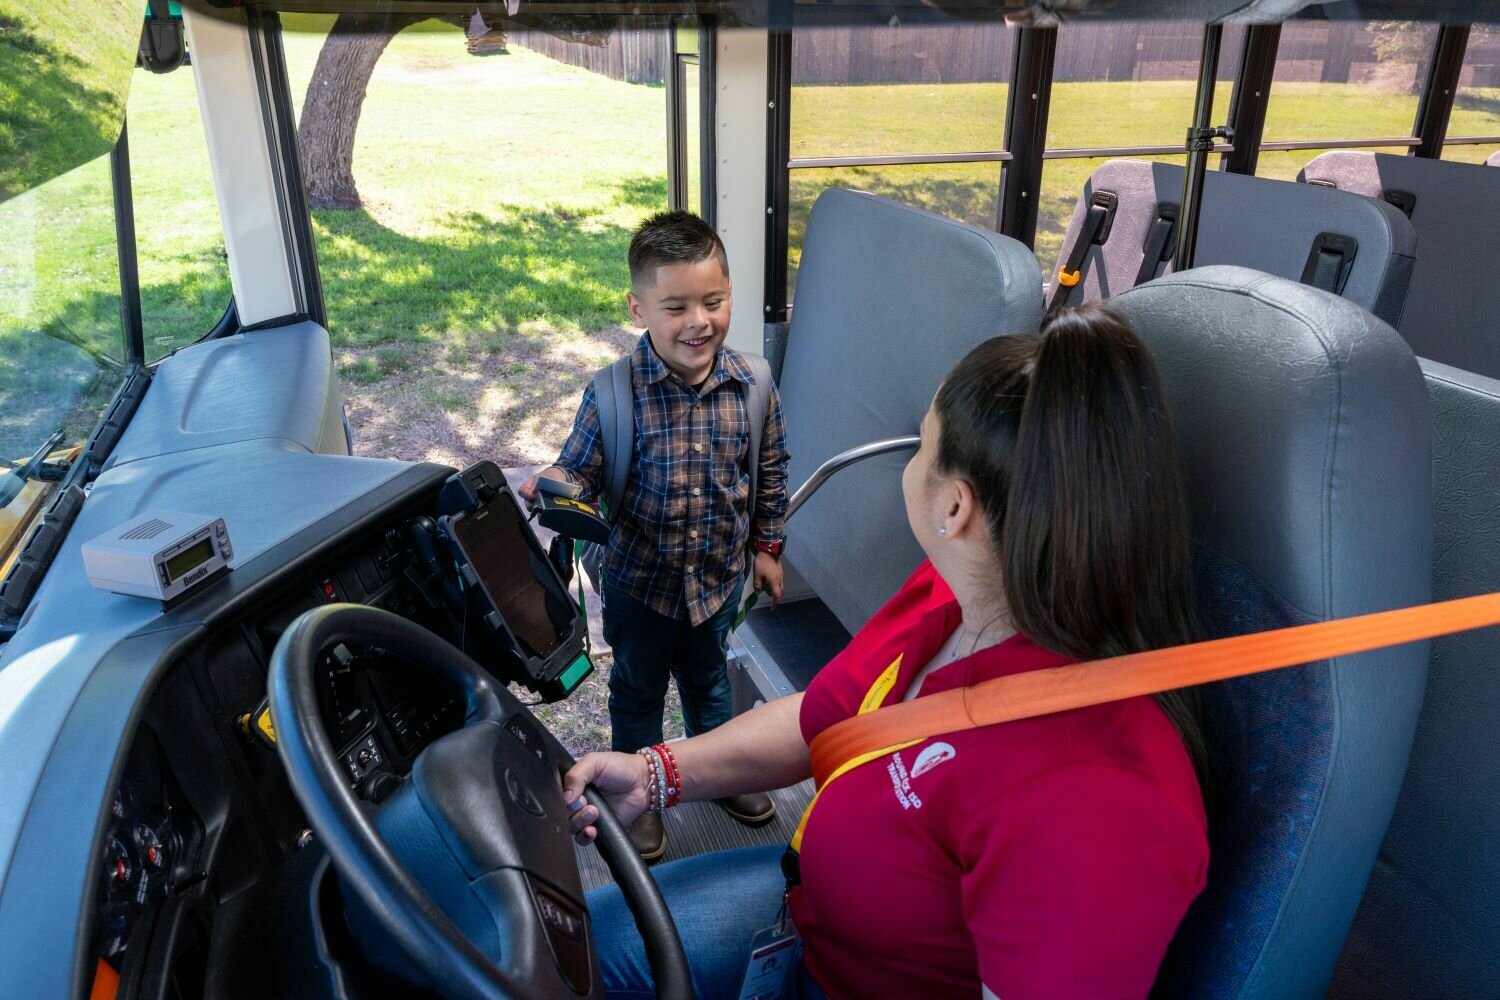
Your bus is equipped with SMART tag™ , the industry's first and best student ridership solution, to help ensure greater safety and security for the students you transport.
Let's walk through the equipment that makes the SMART tag™ platform work:
On-Bus Equipment & Troubleshooting

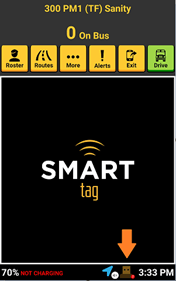
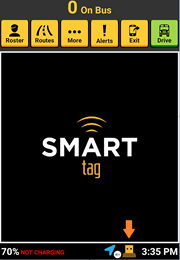
POWER BUTTON
Be careful not to press this during your route! Tapping the power button places your tablet in sleep mode, where the screen goes black.
Press the power button until the tablet vibrates and the name Samsung appears.
SAMSUNG TABLET
Your driver tablet is a Samsung rugged tablet that charges via the charging dock on your bus. All tablets are equipped with broadband capability.
TABLET NFC READER
Each tablet is equipped with an NFC Reader at the back, which can scan SMART tag cards just like the ST Card Reader. Use this as a backup if there's a problem connecting with the ST Reader.
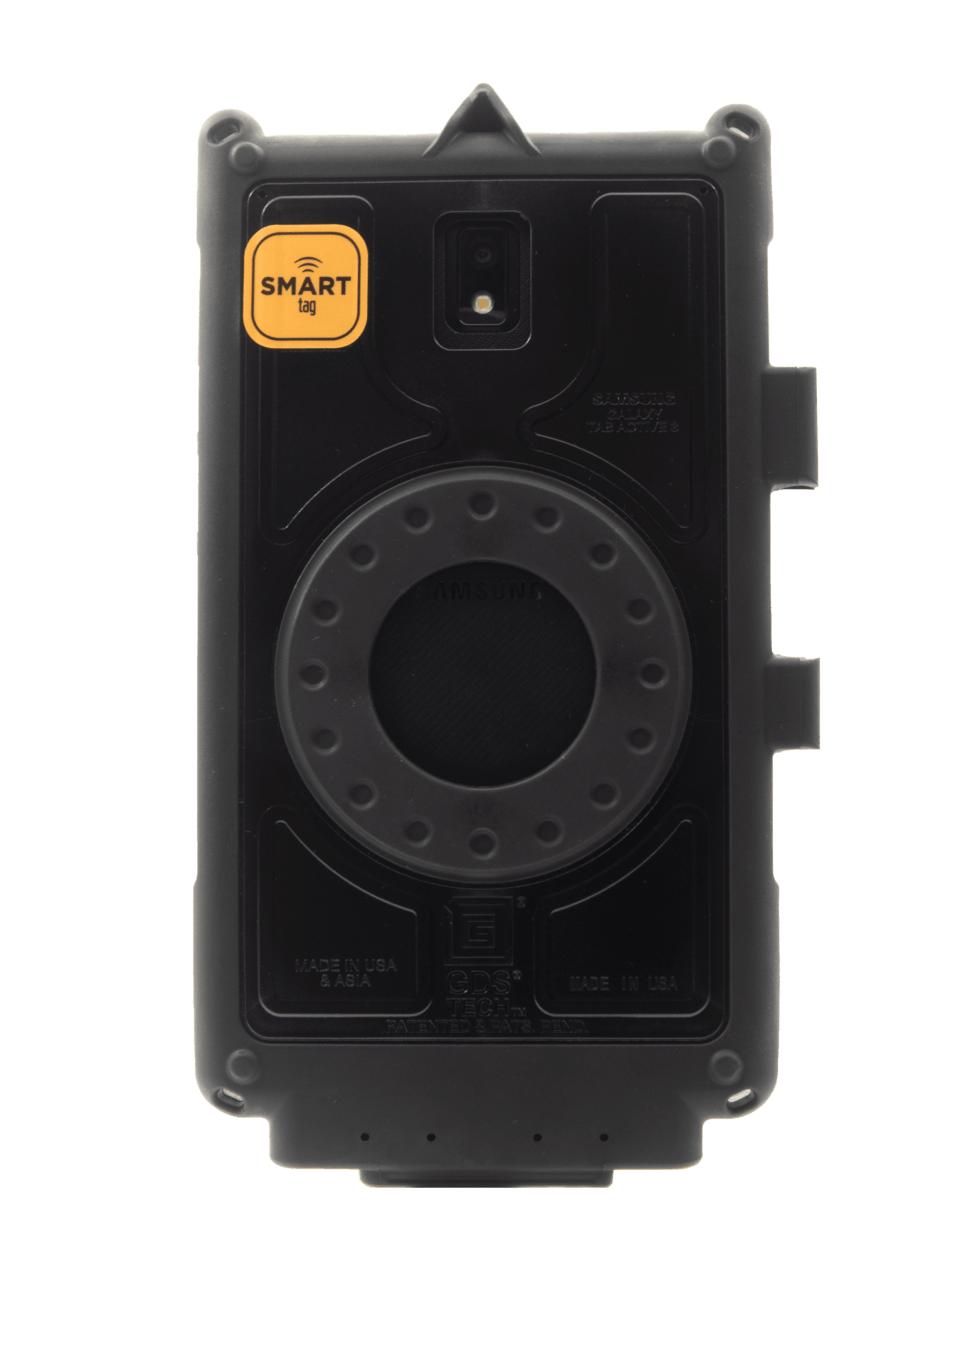
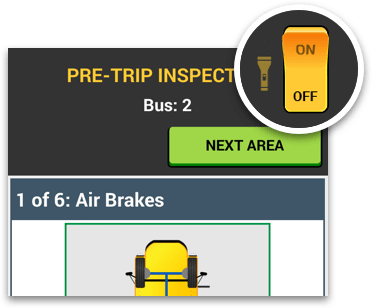
Tablets also come equipped with a flashlight. You can access this on your Pre-Trip and Post-Trip screens.
FLASHLIGHT
READER INDICATOR
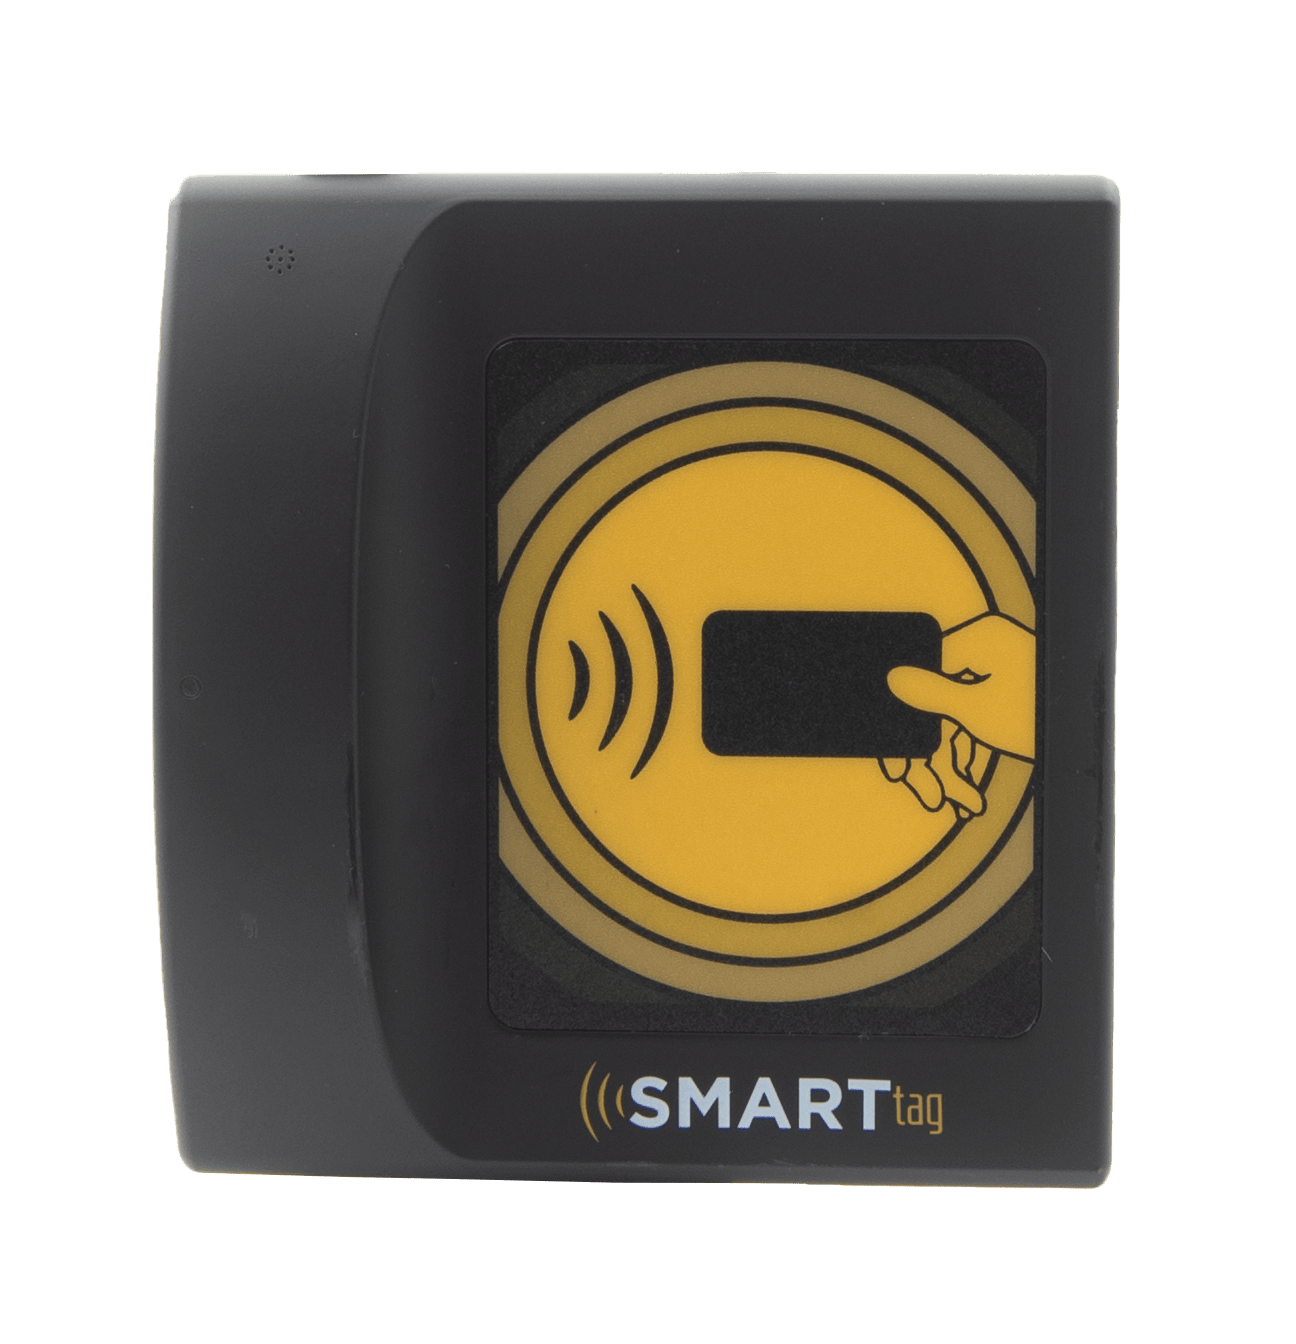
The green light on the top left of the ST Reader will flash when it has power.
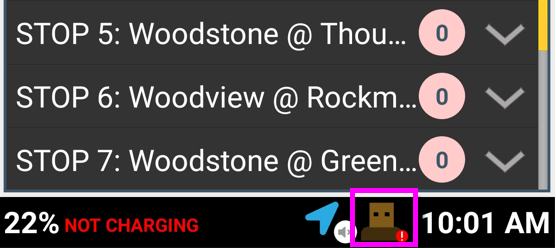
For USB readers, check the tablet's USB icon to ensure it's connected to the ST Reader.

Connected
NOT Connected
BAR CODE
SMART tag™ cards have bar codes printed on the front of the card. The bar code is the student's ID number that can be used in campus facilities, such as food service, library, etc.
Remind your students to not bend or puncture their SMART tag™ cards! The antenna runs along the outer edge and can damage easily if the card is mistreated over time.
NFC ANTENNA


Each SMART tag™ card has a unique 14 character ID. No student information is stored on the chip within these cards.
NFC CHIP
NFC chip and antenna are shown for reference
(not visible on the card).
Tablet Moisture Troubleshooting
If moisture is detected in the USB port, a warning message is displayed, and charging is interrupted.
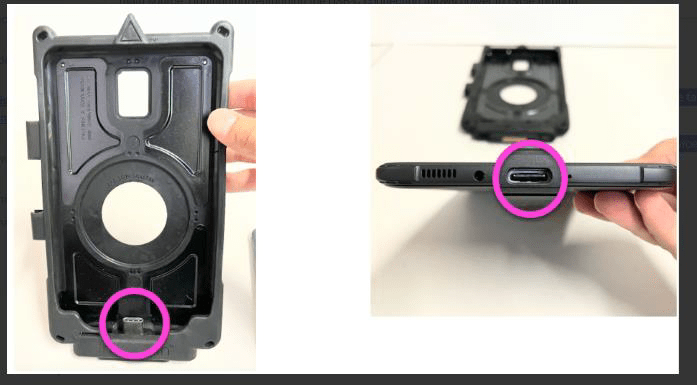
- Power off tablet and remove the Intelliskin cover.
- Inspect the USB-C port (bottom) and USB-C connector (inside bottom of the Intelliskin) for moisture, dust, and dirt.
- Dry the tablet port with a dry cloth or gently shake (5-10 times) with the port facing downwards.
- Dry the USB-C port with compressed air or a fan.
- Allow the tablet to dry overnight (tip: non-air conditioned room is recommended to prevent condensation).
- Place the tablet back into the cover.
If the error message persists after the device is dry, try using a different charging cable. There may be moisture in the original cable that's causing the warning to appear.
Tablet "Not Charging" Troubleshooting
If the tablet says "NOT CHARGING" while in the GDS® Tough-Dock, take it out of the cradle, and reseat it.
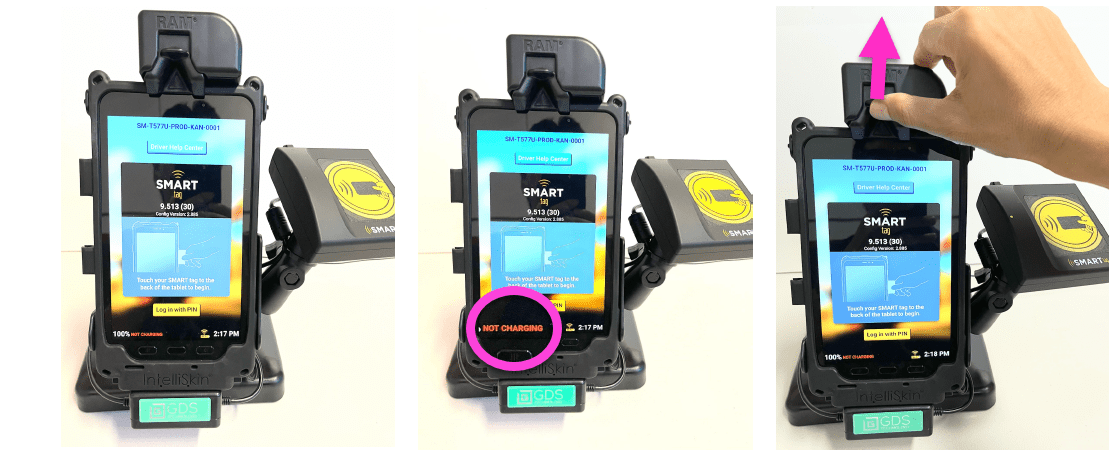
Peel off the Intelliskin® and pull the tablet out.
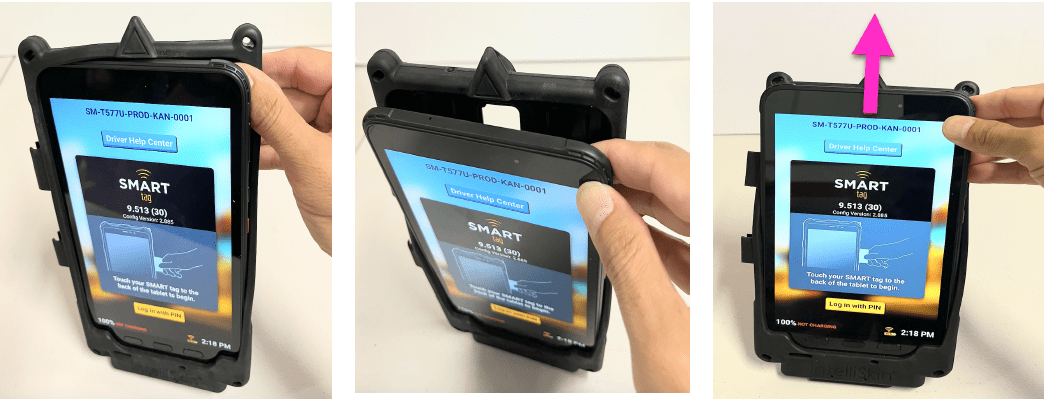
Tablet "Not Charging" Troubleshooting cont.
- Use a compressed air canister to clean out the dust particles from the USB-C connector (inside, bottom) and the USB-C port (bottom of tablet).
- Place the tablet back into the IntelliSkin® by putting the bottom of the tablet in first, ensuring that the USB-C port and connector align.
- Put the tablet with skin back into the GDS® Tough-Dock, and look at bottom left corner of screen to ensure it's charging,
If it still says “NOT CHARGING”, replace the IntelliSkin® with a new one.
USB Card Reader Troubleshooting
Automatic USB Connection Recovery
When the bus is in motion and the tablet is disconnected, the USB reader attempts to connect automatically.
identifying a USB reader disconnect issue
USB disconnection can be caused by the tablet being removed from the cradle or heavy vibrations during bus routes.
A disconnected status appears only when the bus is at a full stop.
- A student scans their card and the tablet does not react. Normally, it displays the student's profile when they scan.
- USB icon displays a red exclamation point.
- When the USB icon is tapped, a "USB Not Connected" message appears.
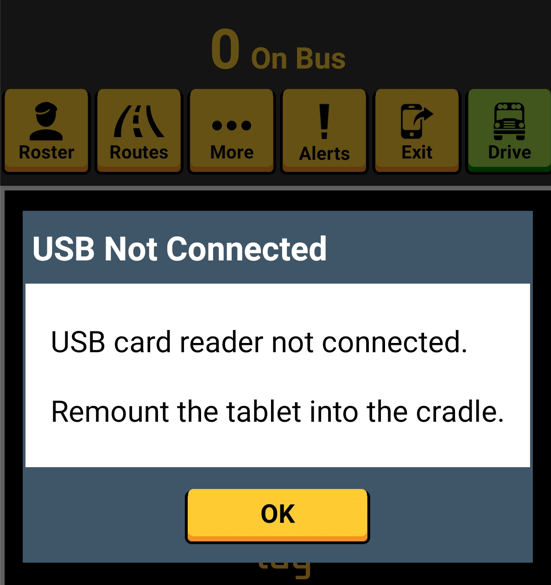
USB Card Reader Troubleshooting cont.
- Remove and remount the tablet into the cradle.
- Remove tablet from the cradle, unplug the USB-C connection behind the docking station, wait 10 seconds, and plug it back in.
- Remove tablet from the Intelliskin® and clean connection ports.
- Check if Intelliskin® is damaged or defective.
- In the Admin Portal, check if the bus in question is assigned the correct reader type.
- Update tablet to latest Knox Profile (with Admin help).
- Manually load/unload the students from the tablet roster.
- Remove tablet and have students scan on the SMART tag sticker behind the tablet.
run Routes without a usb reader
troubleshooting suggestions to reestablish usb connection
USB Card Reader Troubleshooting cont.
if the USB reader has no power
- Examine the cradle configuration to see if it's receiving adequate power.
- Try a different reader.
- Check the power regulator under the center of the bus dashboard. The LED light on the regulator should be green. If not, this indicates a potential issue with connection to the main power supply.
tips for before you start your route
- When you dock the tablet, ensure connectivity and troubleshoot any issues prior to the route.
- Check the tablet's USB icon.
- Verify the reader has a flashing green light.
- Verify all cables are properly connected.
Green light = Power on
Orange light = Power received, but no tablet connection
Red exclamation mark on USB icon = No USB connection

That's it!
Head back to the tutorials to learn more about the Driver App.