
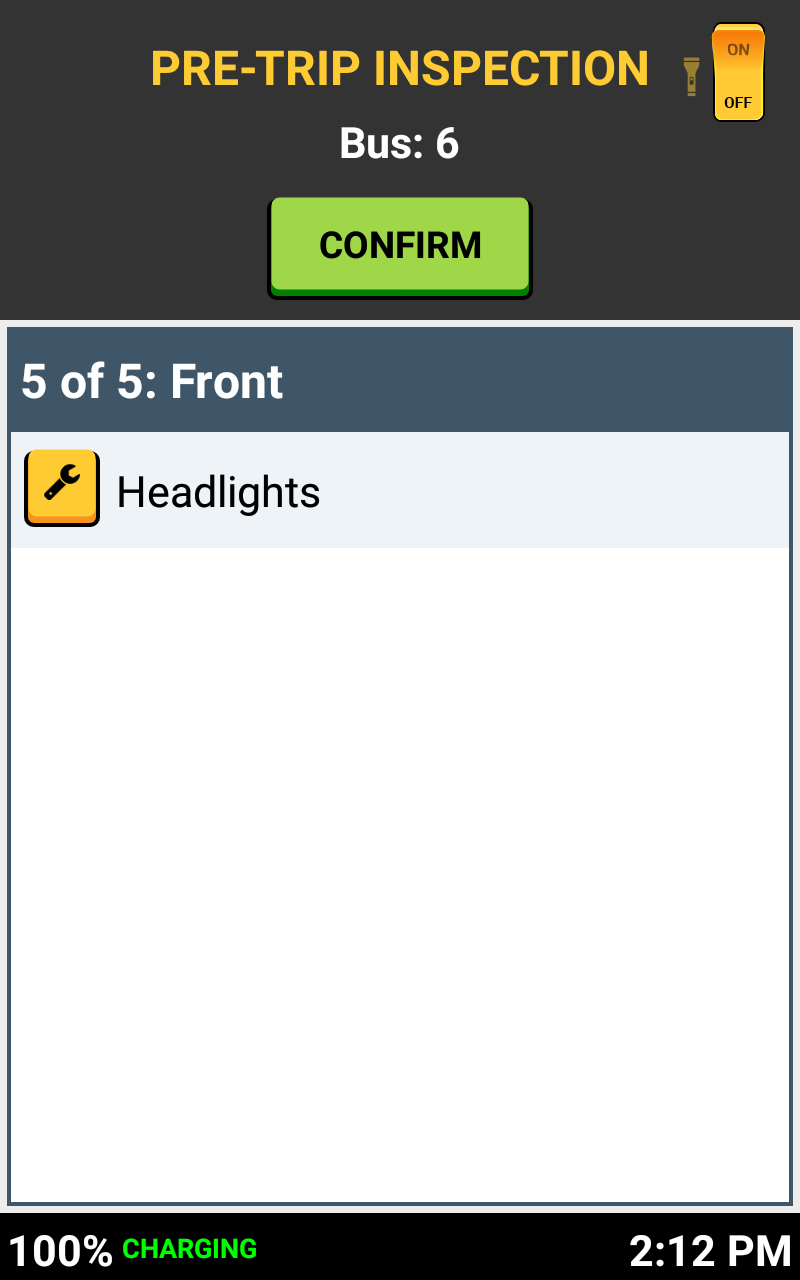
PRE-TRIP INSPECTION
Your driver tablet makes it super easy to log your state required safety inspection before leaving the bus lot.
Let's walk through a Pre-Trip on your driver tablet:

After you confirm and select your bus number and routes, the first screen of your Pre-Trip Inspection is displayed on your tablet.
You can then head out to your bus.
CONFIRM YOUR BUS AND ROUTE

Your pre-trip inspection is broken up into areas to inspect. Most districts choose to break these up into around 6 areas. These often include:
PRE-TRIP AREAS
- Air Brakes
- Interior
- Front
- Driver Side
- Back
- Passenger Side
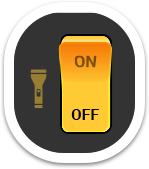
You can tap the flashlight icon on the top right to turn on the light at the back of the tablet. This is useful for early morning inspections.
FLASHLIGHT
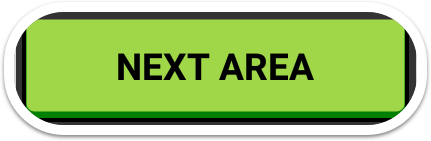
Tap the green NEXT AREA button to inspect the next area.
ADVANCE TO NEXT AREA
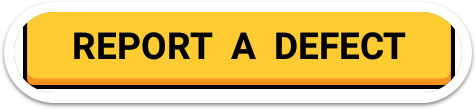
You can tap the yellow REPORT A DEFECT button to report an issue with any inspection item on your bus.
REPORT A DEFECT
Let's say we found a defect on Area 3, on the front side of the bus that we'd like to report to the mechanics. After tapping the REPORT A DEFECT button a list of inspection items for that Area will display.
Tap the wrench icon button next to the item you want to report as defective or that has an issue.
DEFECT FOUND
To report a defect, simply tap the box in front of the specific defect type. Some defects require a note to be added. For example, when reporting graffiti on a seat, the required note would be to identify the seat number.
SELECT DEFECT TYPE
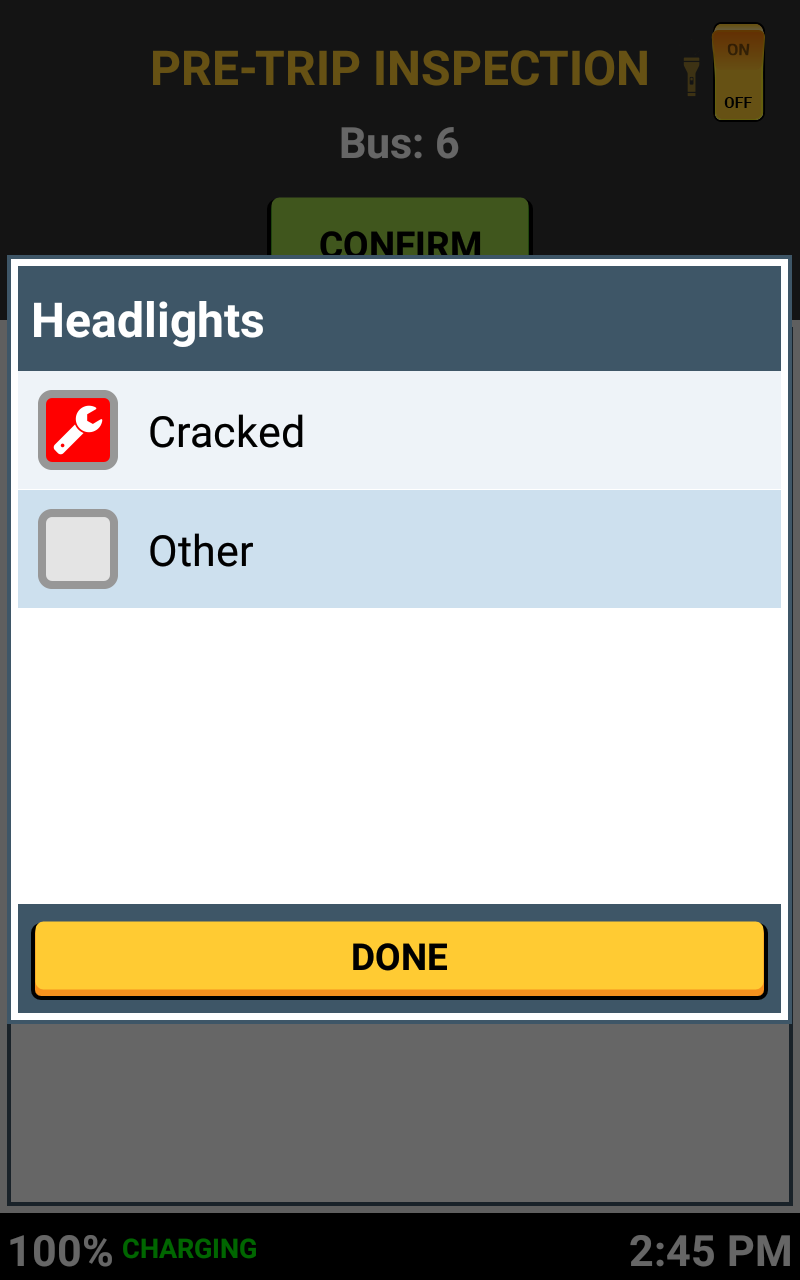

Tap DONE to return to the Area you are inspecting.
PROCEED
You can always go back to a zone to edit or choose another defect on this final confirmation screen.
EDIT A DEFECT
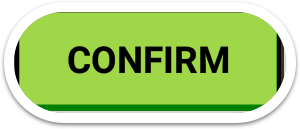
Review the Areas inspected and any defects you are reporting. If everything is correct, tap the green SUBMIT button and continue to the Mileage/Fuel level screen.
SUBMIT PRE-TRIP INSPECTION
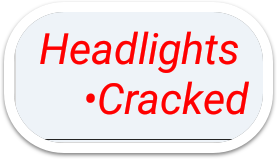
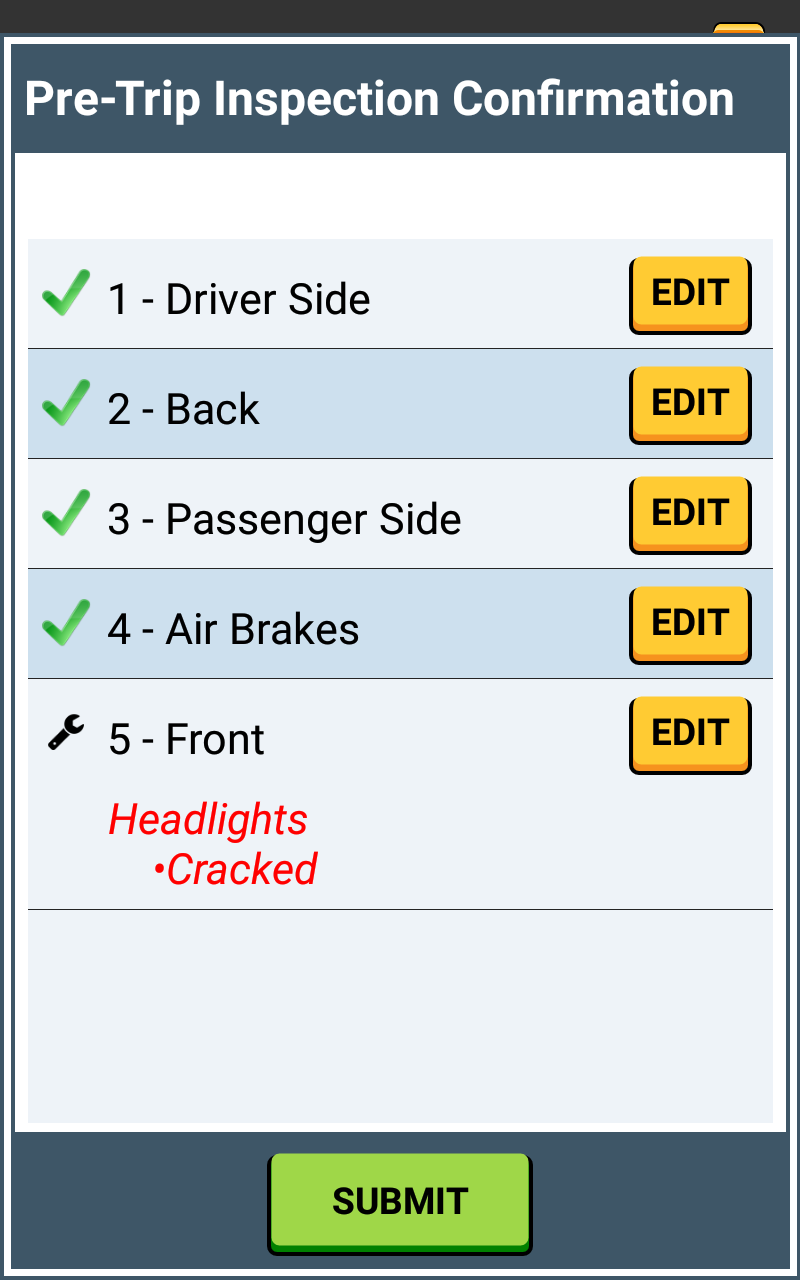

Your defects are shown in red beneath each zone.
DEFECTS SHOW IN RED
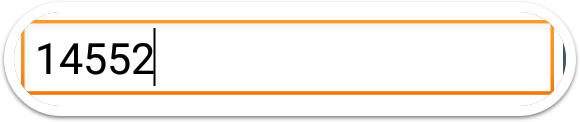
It is important to record accurate mileage. Enter in your starting mileage for your trip here.
ENTER STARTING MILEAGE
Slide the fuel level bar to the position that represents the amount of fuel shown on your fuel gauge on the bus.
INDICATE FUEL LEVEL
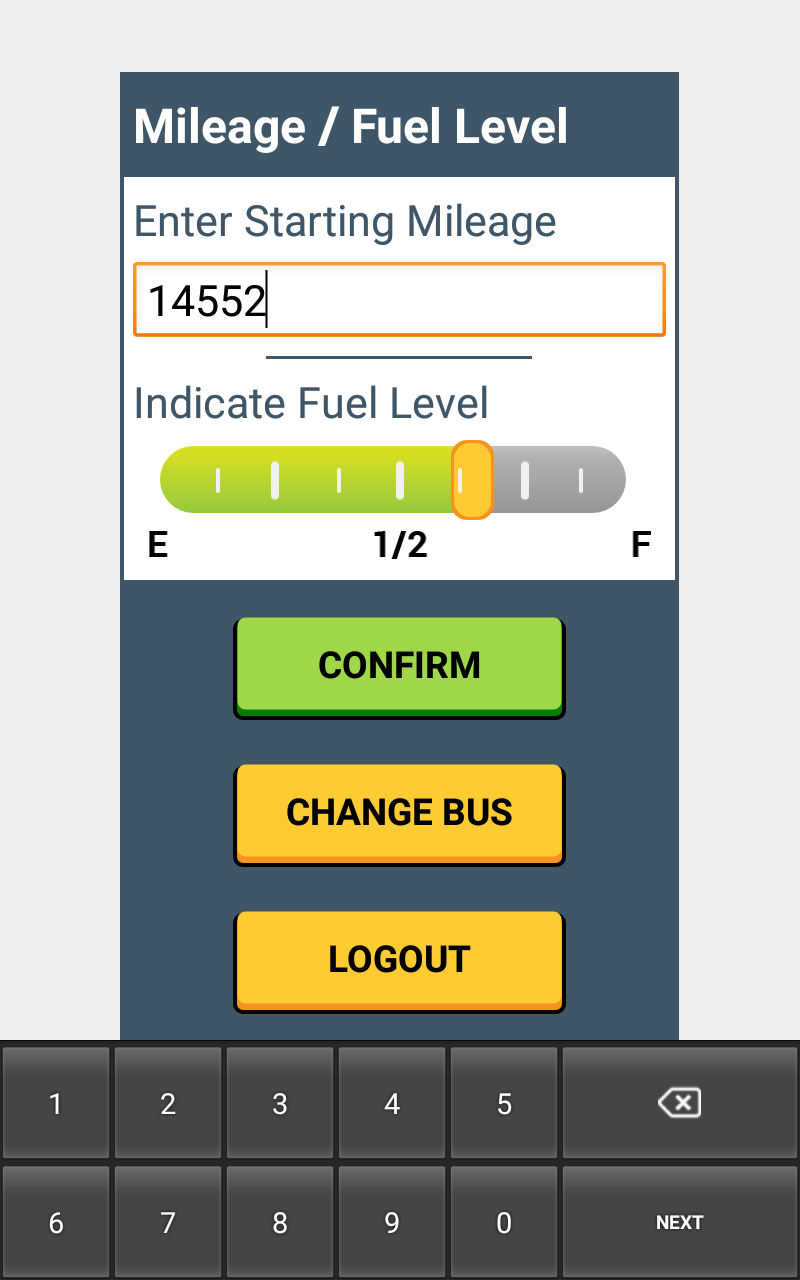
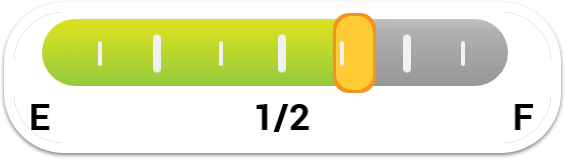
If you indicate that your fuel level is less than half a tank or less than 50%, you'll be asked if you want to continue. Your answer will be recorded.
LOW FUEL WARNING

When everything looks good, tap the green CONFIRM button to proceed to driving your route!
PROCEED TO ROUTE

That's it!
Head back to the tutorials page to learn more about the Driver App.