
SEATING CHARTS
A great feature of SMART tag™ is the ability for you to create, edit, and reference an easy-to-use seating chart for each of your routes. Your seating charts can be viewed anytime by campus or transportation admins using their portals.
Here's how you can use the seating charts feature:

login to tablet
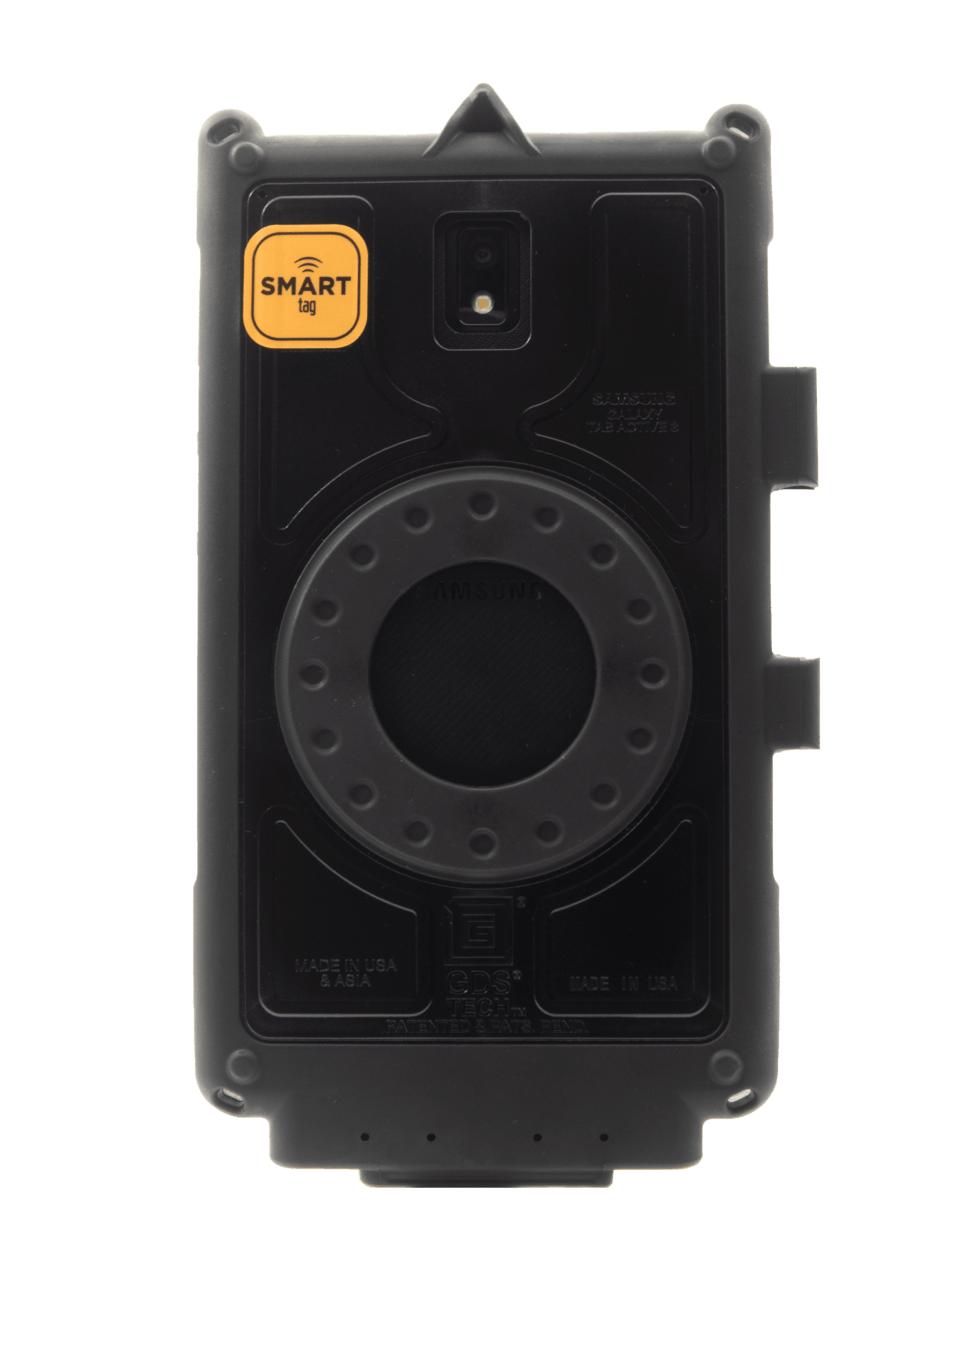
Scan your driver card by placing it on the yellow SMART tag™ decal on the back of the tablet.
LOG IN WITH DRIVER CARD
You can also log in by using your employee ID and setting up a PIN code.
OR LOG IN WITH PIN CODE


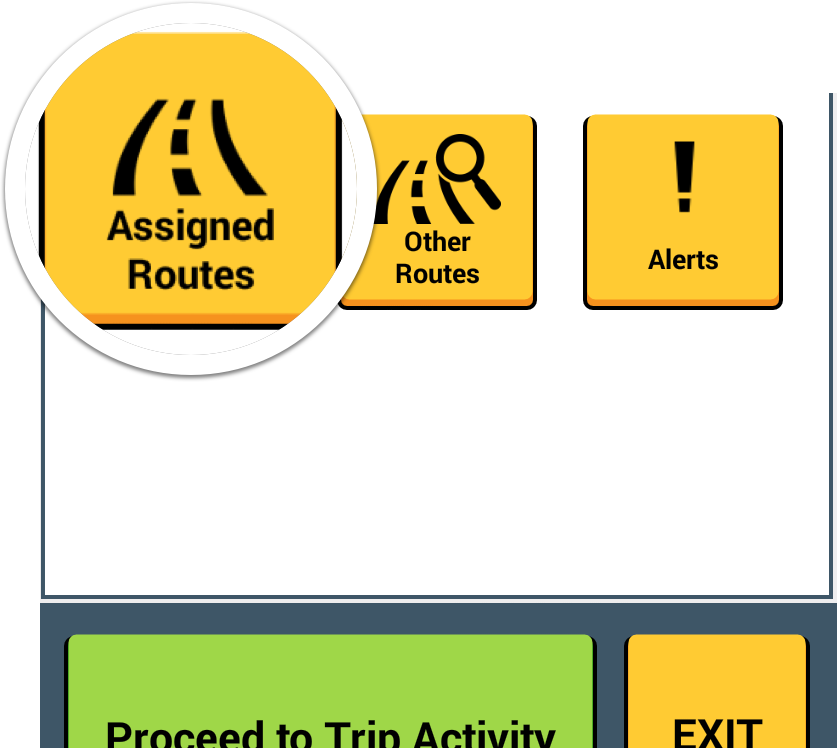
VIEW ASSIGNED ROUTES
On the Welcome screen, tap on the "Seating Charts" or "Assigned Routes" tile to view all of the AM/PM routes that are assigned to you.
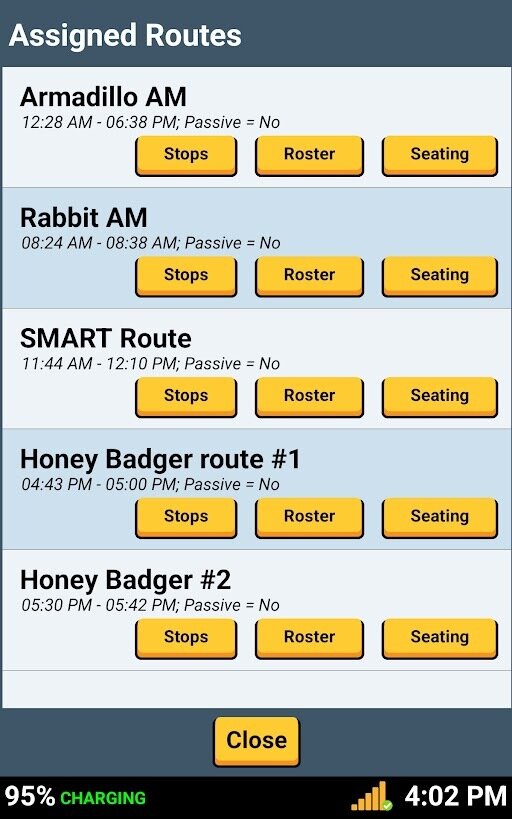
SELECT YOUR ROUTE
Each of your routes should be listed. Tap "Seating" to edit the seating chart for one of your routes.
VIEW YOUR ASSIGNED ROUTES
SECONDARY STUDENTS
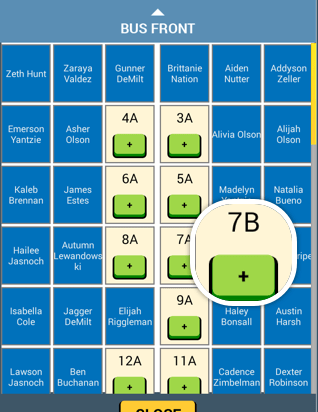
Initially, your seating chart will be empty. You can tap on any of the green “+” buttons to assign a student to that seat.
There are three (3) seat positions available per seat bench. We display seating charts so you can have up to three elementary students on a seat bench.
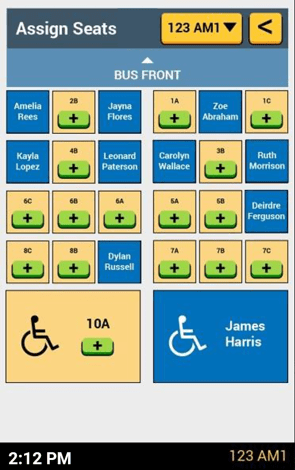
For middle school and high school, you will probably only assign two (2) students to a seat bench.
EMPTY SEATING CHART
ELEMENTARY STUDENTS
USING SEATING CHARTS
To assign a student to a seat, tap the green "+" sign of the seat where you want the student assigned.
In the example shown, row 7 only has one (1) student. Let's assign a student to 7B. Tap the green button for seat position 7B.
ASSIGN A SEAT
Ella Vermeire is not assigned to a seat. Tap on her name and then tap the green "Assign seat" button to assign the student to that seat position.
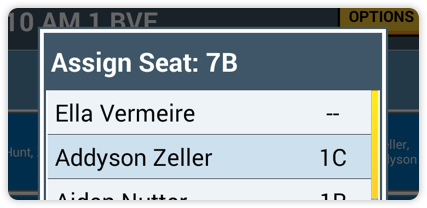
STUDENT ROSTER
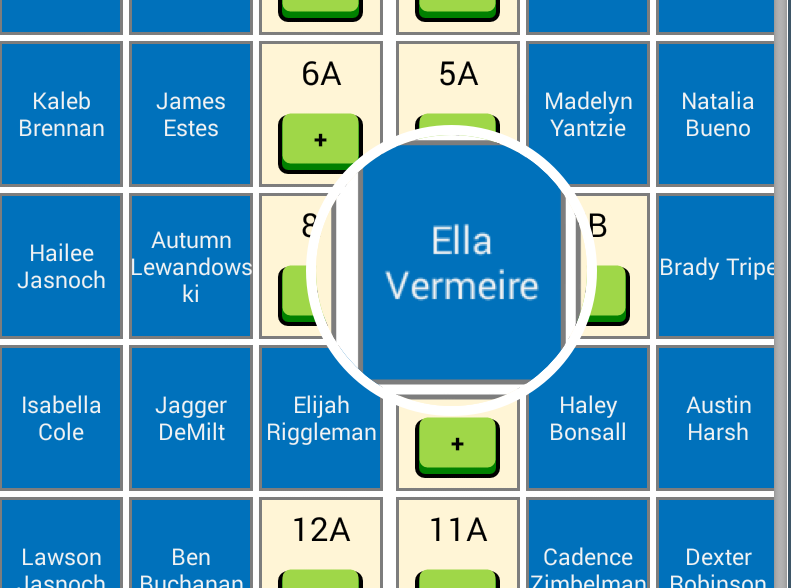
To unassign a student from a seat, all you have to do is tap the blue square with the name of the student who you want to unassign.
In our example we've tapped on Ella Vermeire's blue square.
UNASSIGN A STUDENT
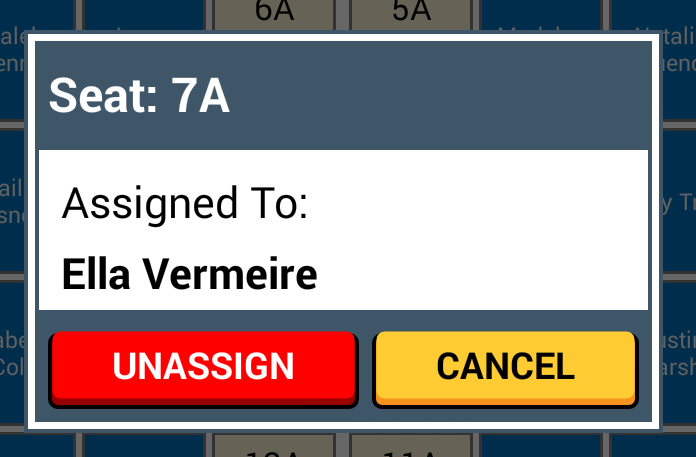
You'll see this pop-up window appear. Tap the red UNASSIGN button to unassign the student from the seat.
COMPLETE UNASSIGNING A STUDENT
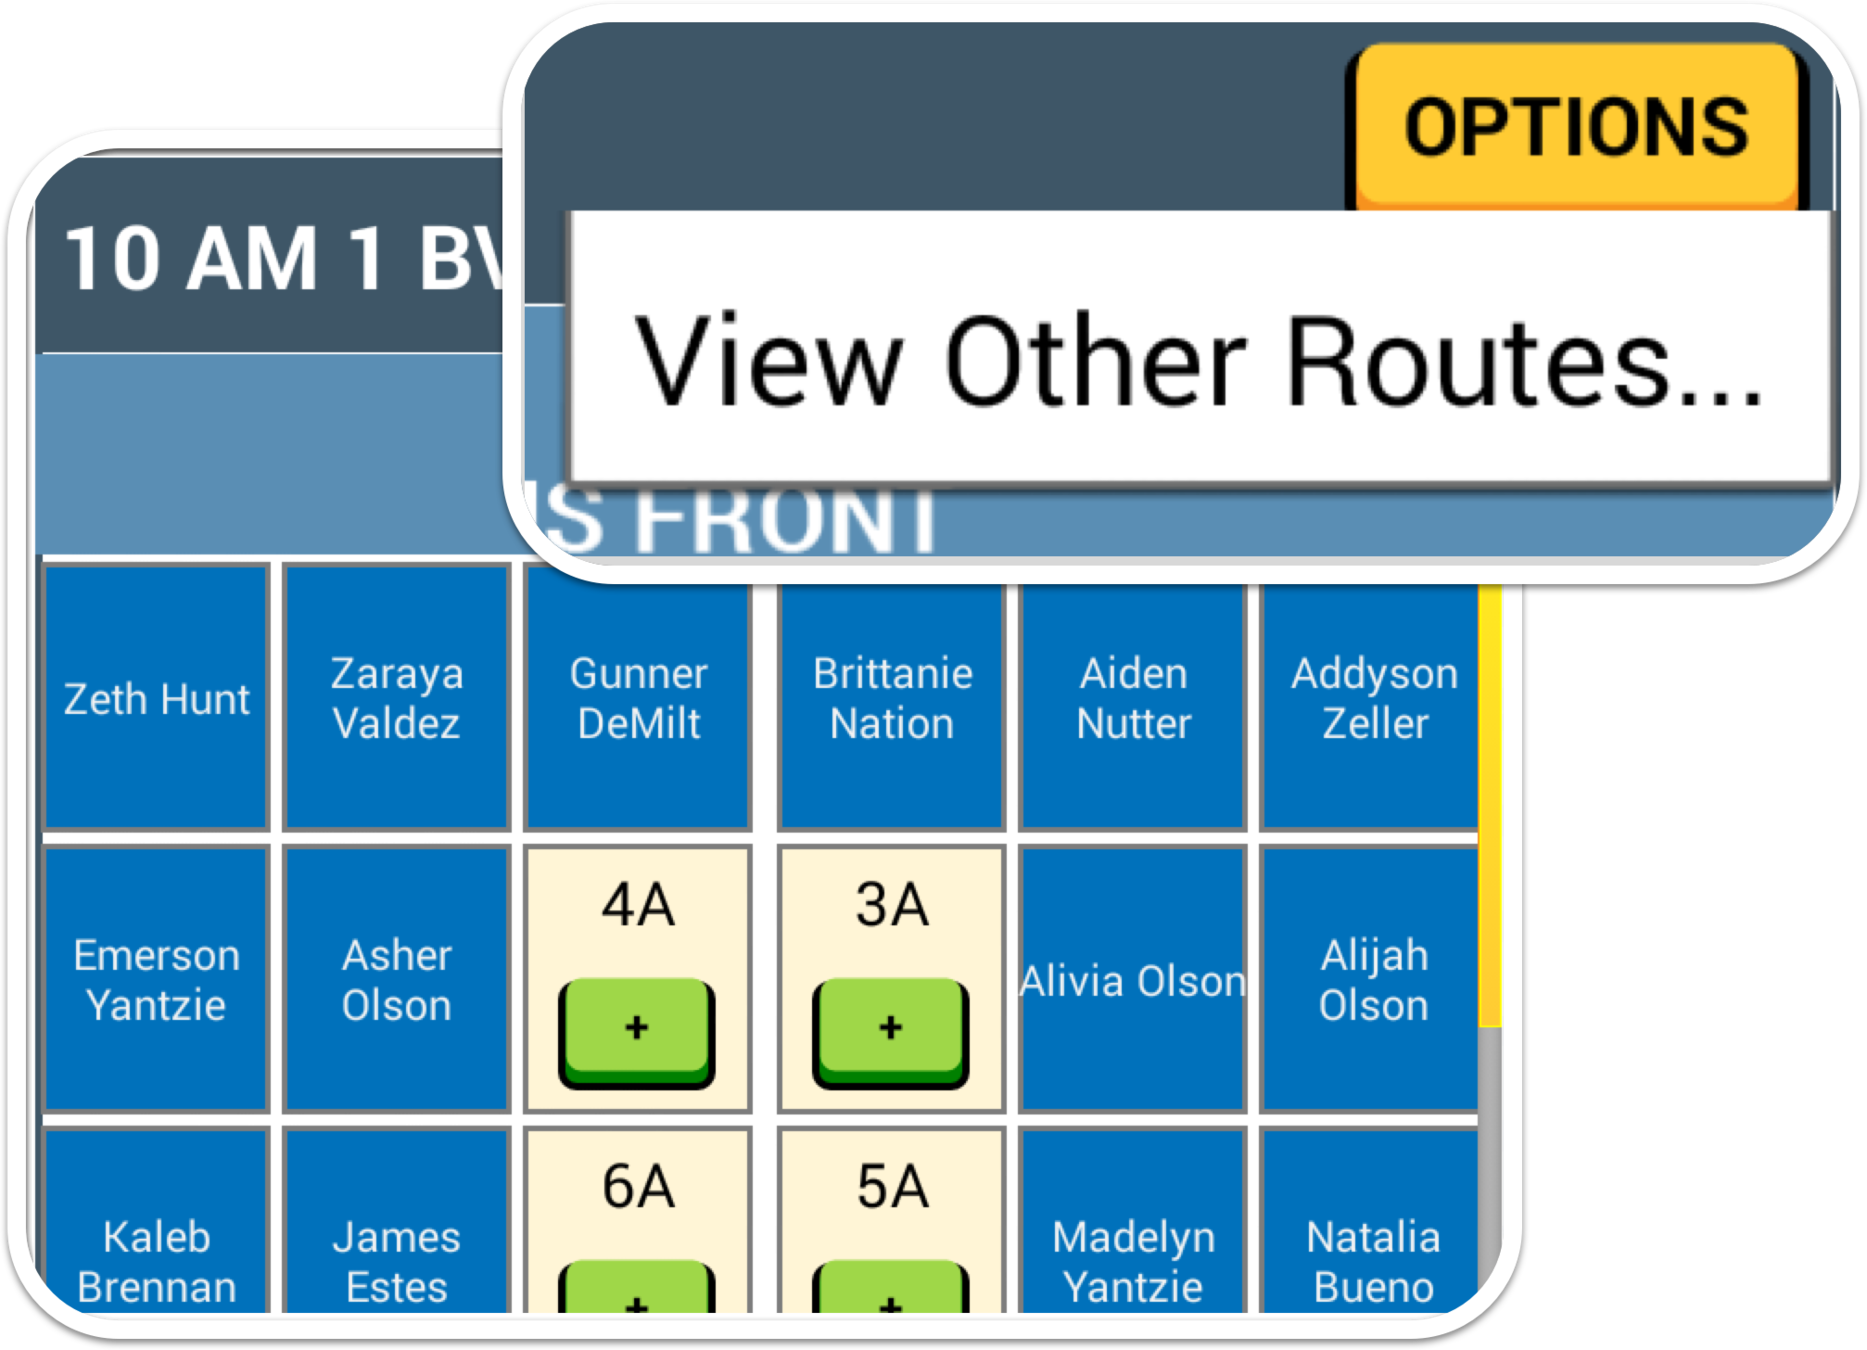
You can also quickly view your other seating charts by tapping the yellow OPTIONS button at the top right of the seating chart page.
VIEW OTHER ROUTES
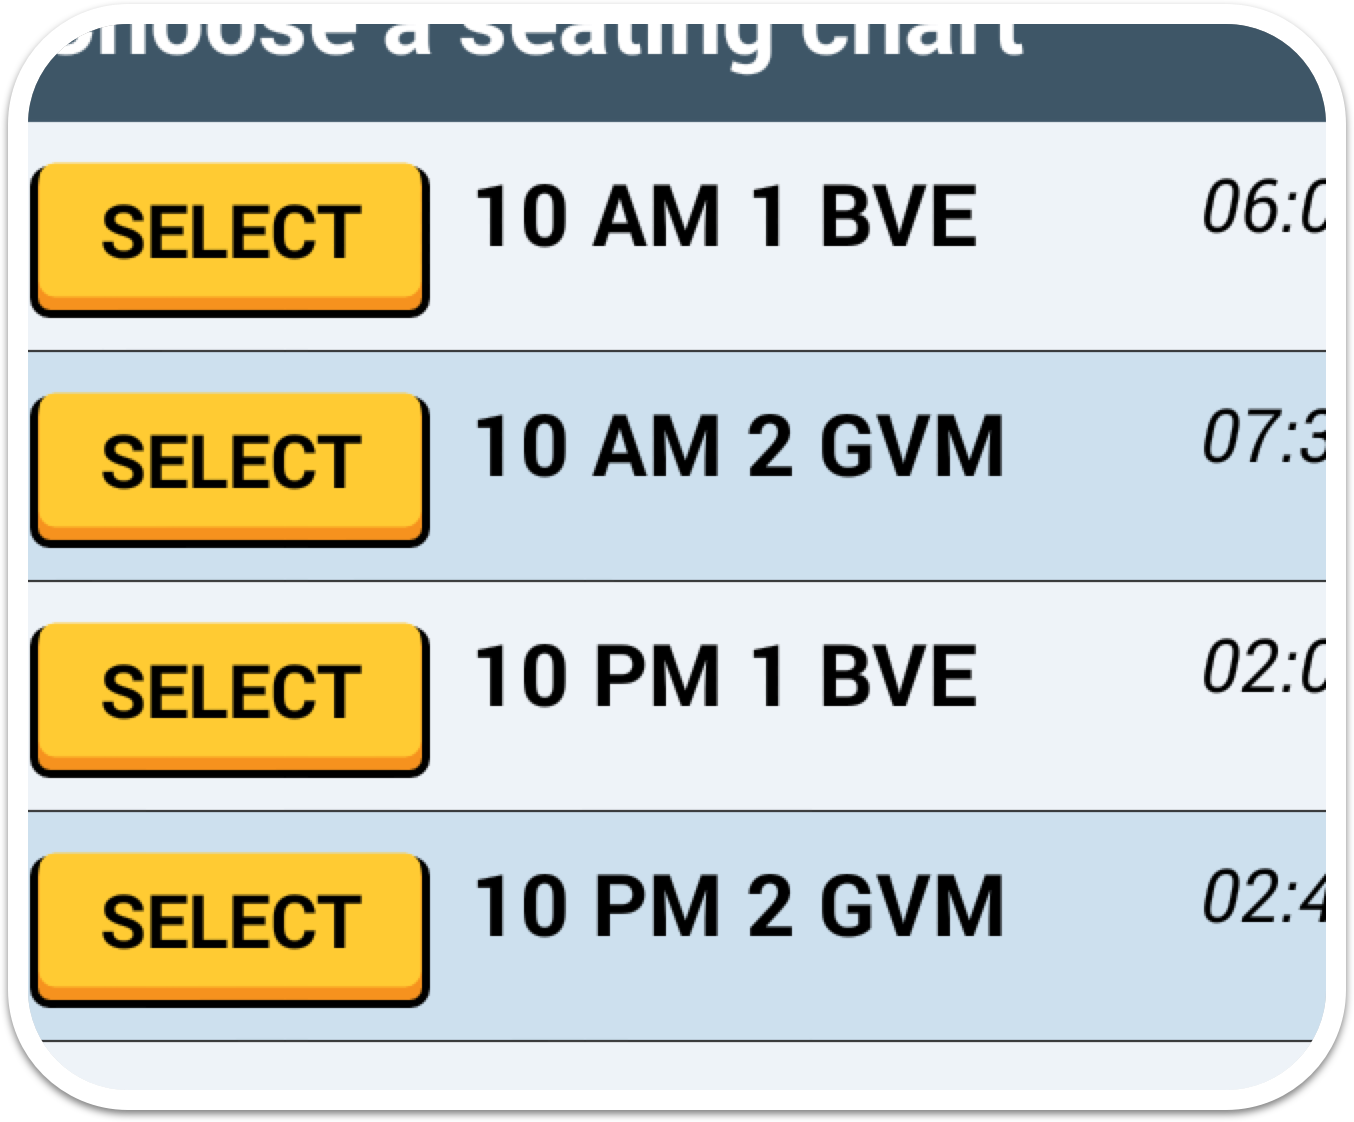
Tap the SELECT button for the route tier seating chart you want to view.
SELECT ANOTHER ROUTE
Changes you make to your seating chart(s) are uploaded when you tap the CLOSE button for the seating chart. Admin and Campus Portals will display the updates.
UPDATED SEATING CHARTS

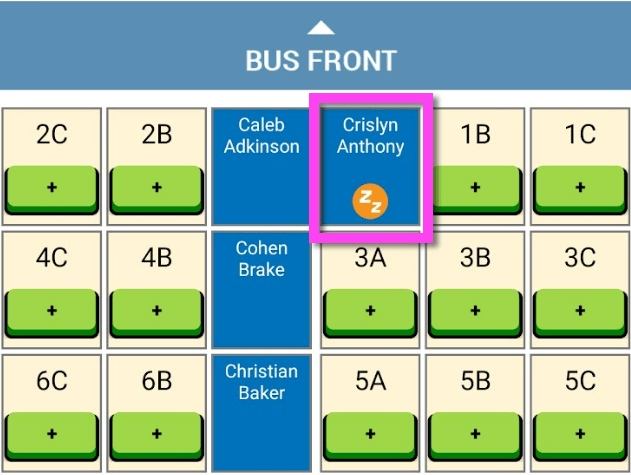
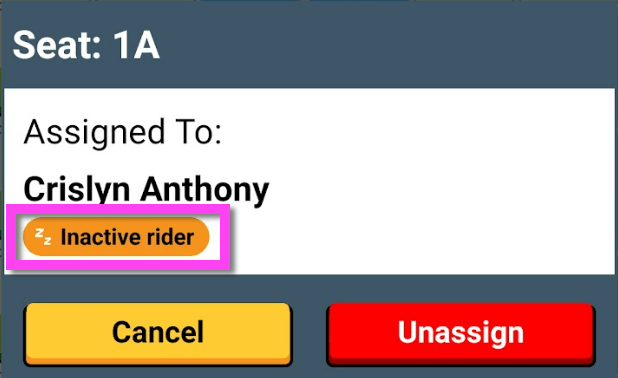
There is visibility and distinction to seating assignments of inactive riders. Inactive riders are students who have not ridden around 30 days (district configurable). They will become Active Riders again after you load them.
INACTIVE RIDER
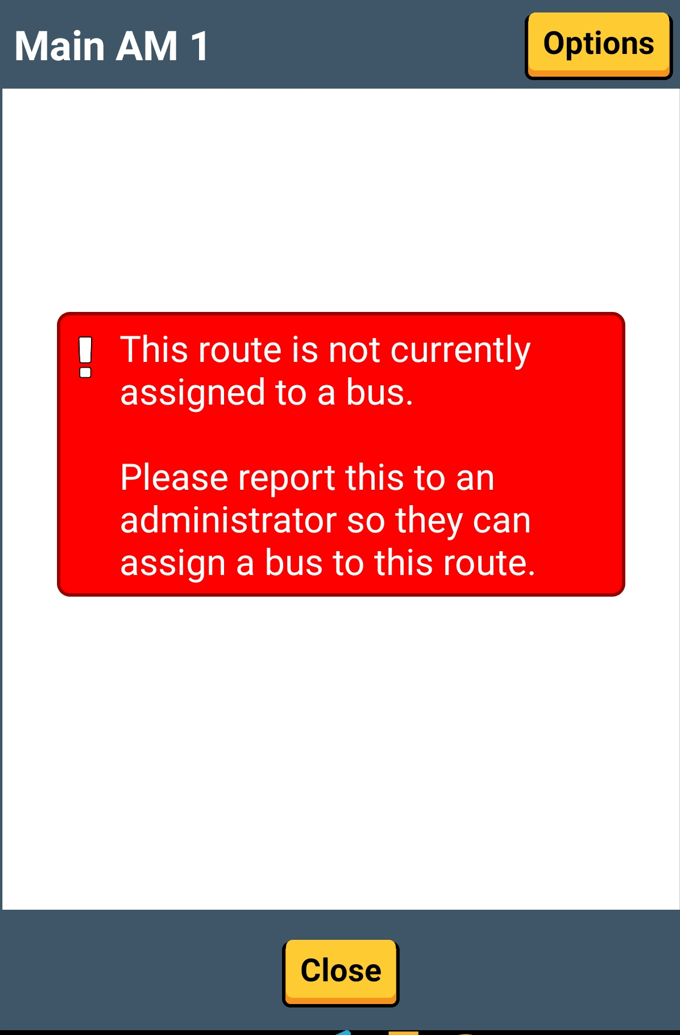
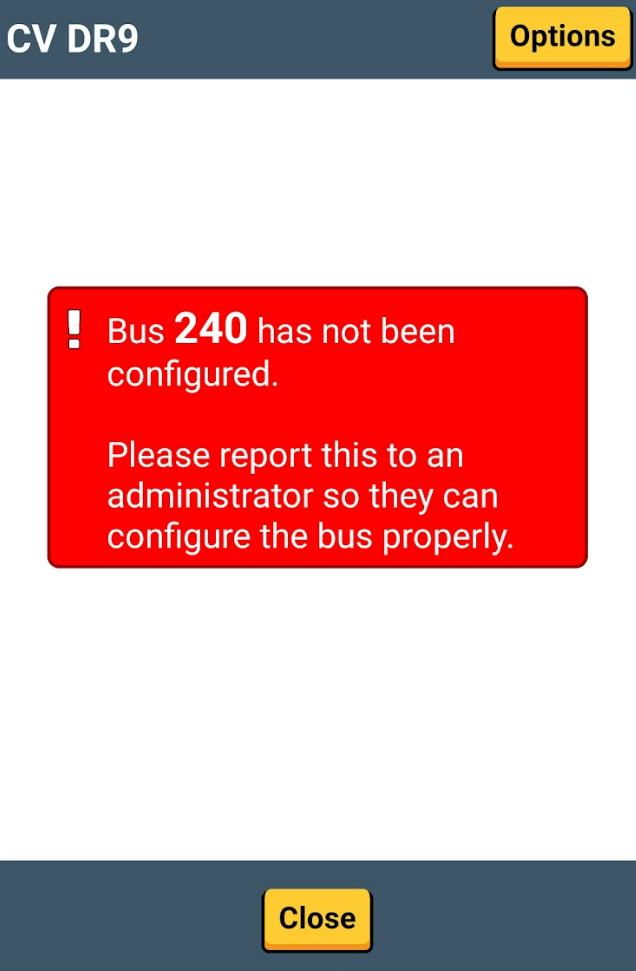
If a bus has not been configured or the route has yet to be assigned to a bus, then seating charts will not be available as confirmed by warning messages.
WARNING MESSAGES
COPY AM/PM SEATING CHARTS
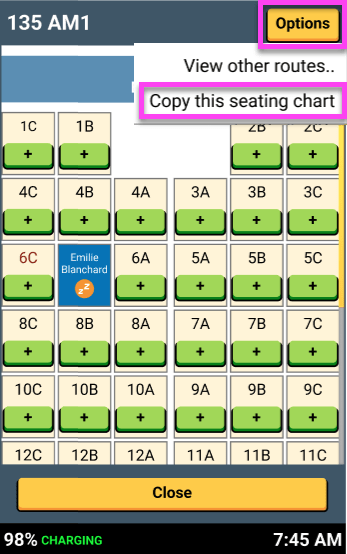
Only routes with the same driver, same bus, and opposite route direction will be populated as options.
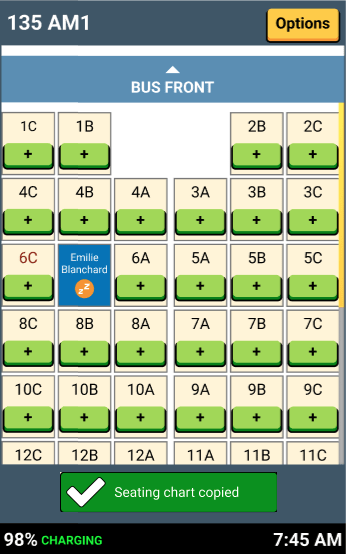
Pull up the seating chart you want to copy and tap Options > Copy this seating chart.
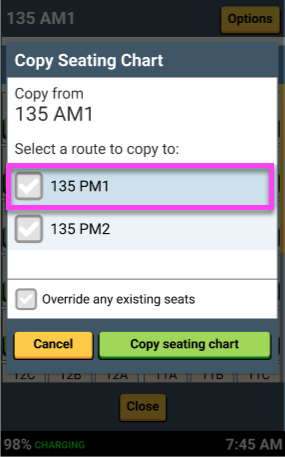
Select the route you want to copy the seating chart to. There's an "Override any existing seats" option available.
Transportation staff can configure the following from the Admin Portal:
- Identify and mark emergency exit locations
- Designate seat labels
- Define row labeling and sequence
CUSTOMIZABLE SEATING CONFIGURATION
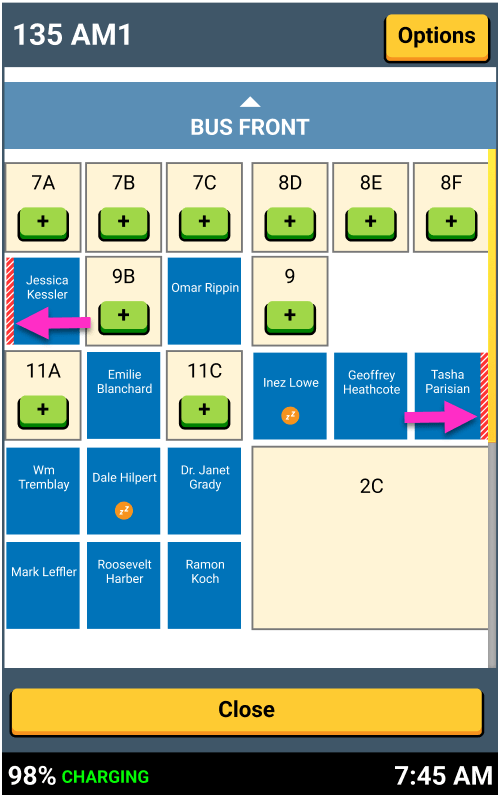
Published configurations are sent to the tablets for updated seating charts.
Image of a configured seating chart with marked emergency exits (red striped borders).

That's it!
Head back to the tutorials page to learn more about the Driver App.