
EMERGENCY ROUTES
This section helps you navigate emergencies or evacuations, improving response time and tracking.
You can start an emergency route whether you are on or off a route.
From the Driver Welcome Screen, select the red "Emergency Route" button to begin.
DEDICATED EMERGENCY ROUTES

Input the bus number, and tap the green "Confirm" button to proceed.
Click "Start route" button.
DEDICATED EMERGENCY ROUTES continued...
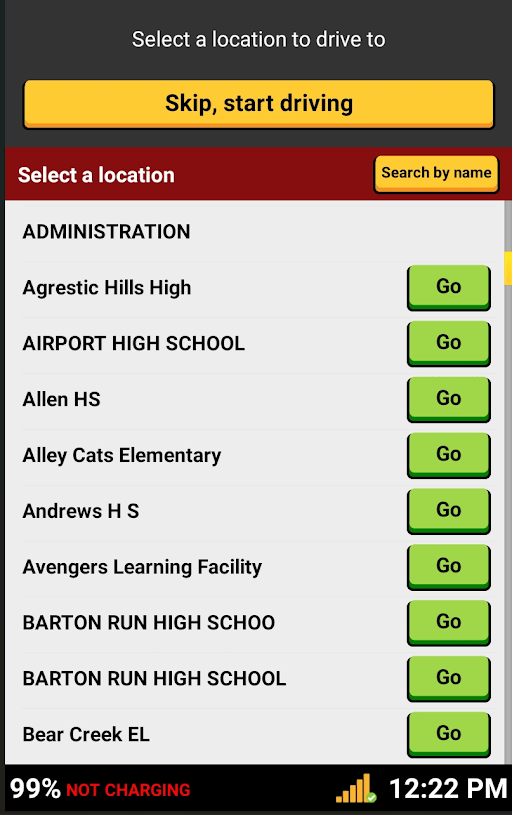
Either:
- Tap "Go" button for desired location or
- Tap "Skip, start driving"
This is the Drive Mode screen, and you can now begin driving.
DEDICATED EMERGENCY ROUTES continued...
If navigation is selected, you will be directed to the emergency location site.
CHANGING FROM AN EXISTING ROUTE
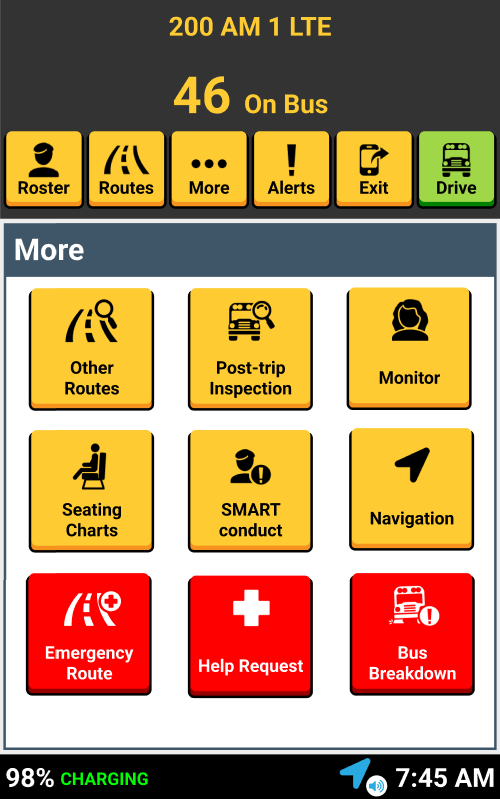
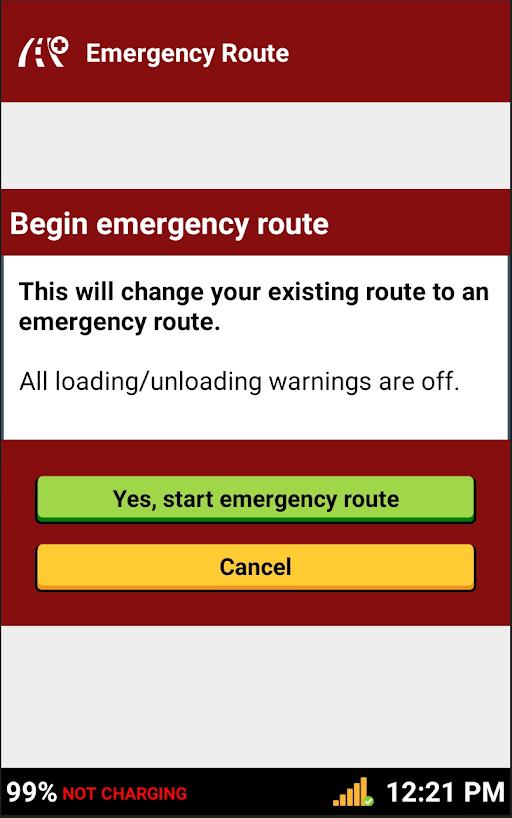
Tap the "Yes, start emergency route" button.
To transition to an emergency route:
- Pull over, tap the "More" button.
- Tap on the red "Emergency Route" button.
CHANGING FROM AN EXISTING ROUTE continued...
If there are students on your bus when you transition to the emergency route, those students will transfer to the emergency route roster.
This example image has 15 students on the bus.
Either:
- Tap "Go" button for desired location or
- Tap "Skip, start driving"
LOADING STUDENTS
If there is imminent danger, load the students without scanning them on the bus.
Getting students away from the danger area as quickly as possible is the most important objective.
DRIVING TO A REUNIFICATION SITE

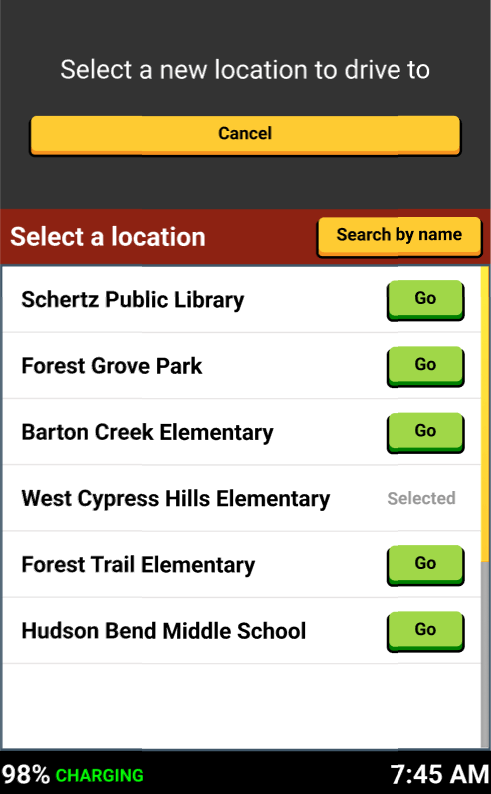
Either:
- Select green "Go" button or search by name or
- Tap "Cancel" to go back to previous screen to just "Drive"
After arriving, scan students on the tablet (or when getting off the bus).
Tap on the yellow "Choose a different location" button.

That's it!
Head back to the tutorials page to learn more about the Driver App.
7.0 Emergency Routes
By SMART tag™
7.0 Emergency Routes
How to navigate emergency evacuation before and during routes.


